
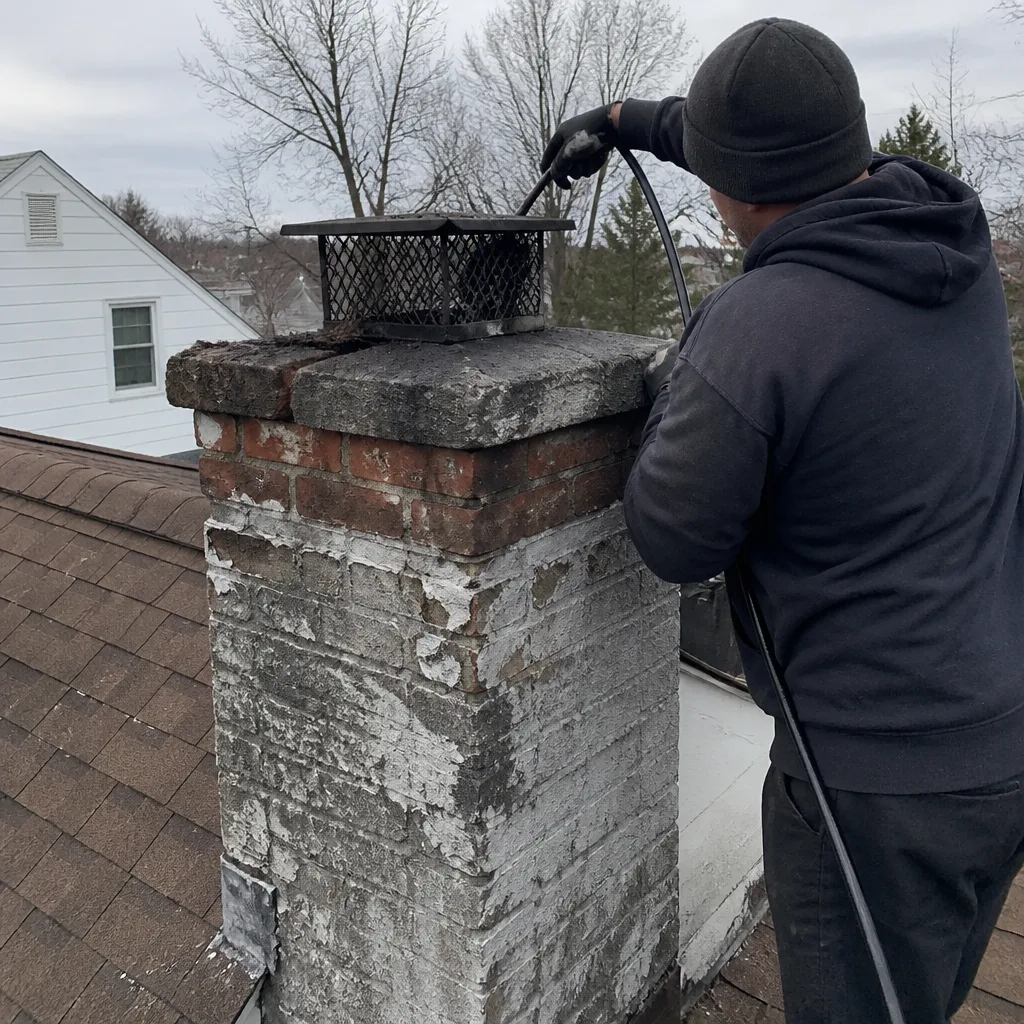
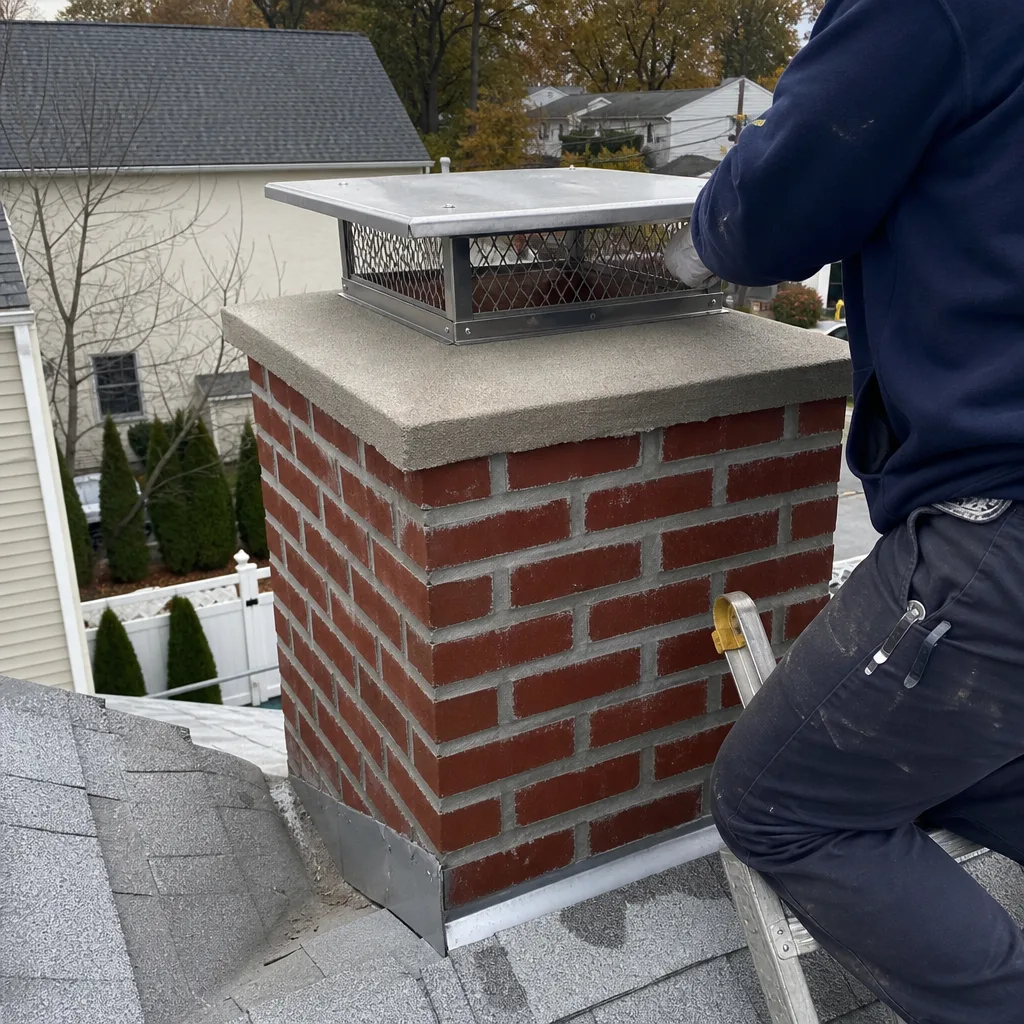
Level 1 sweep and inspection to the NFPA 211 annual standard - flue, crown, cap, and flashing checked and photographed
Chimney sweep logs do not sweep chimneys. They loosen some creosote - which then falls where a brush and vacuum still have to collect it.
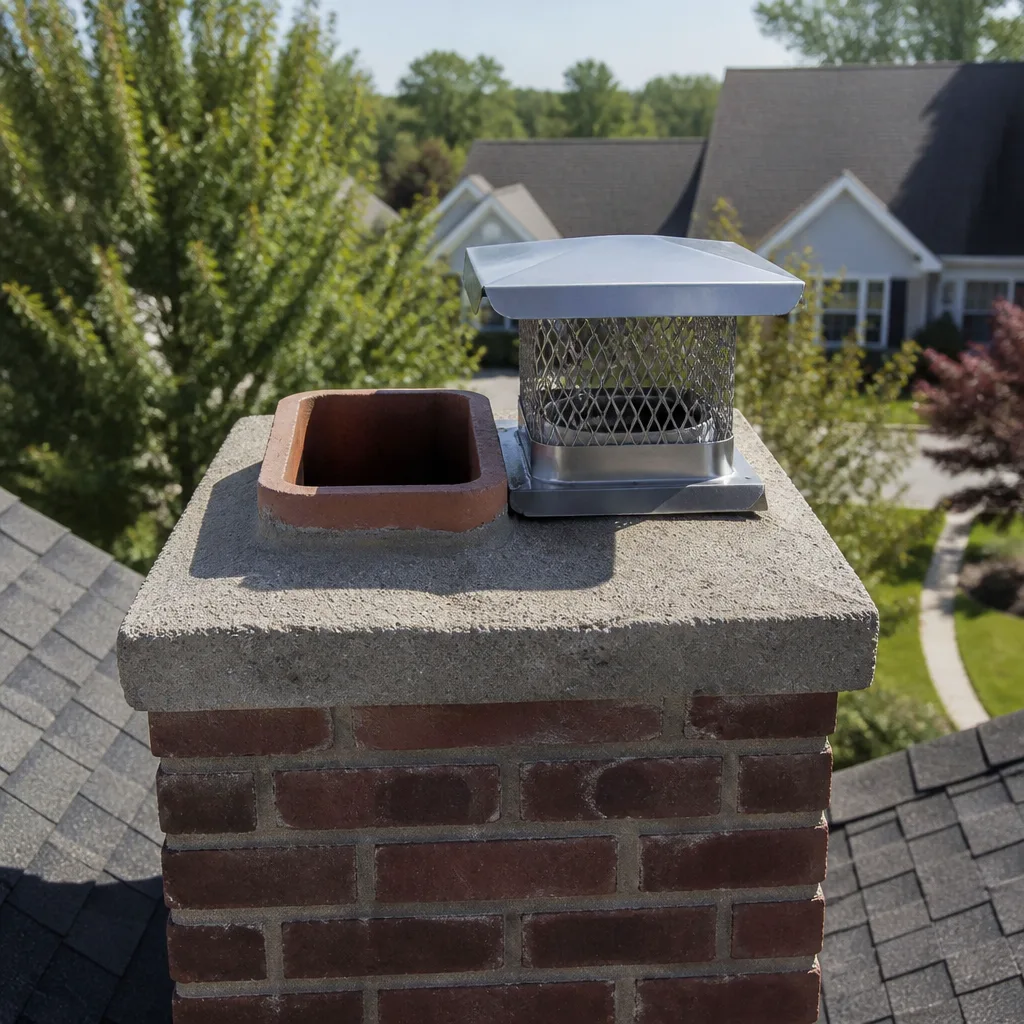
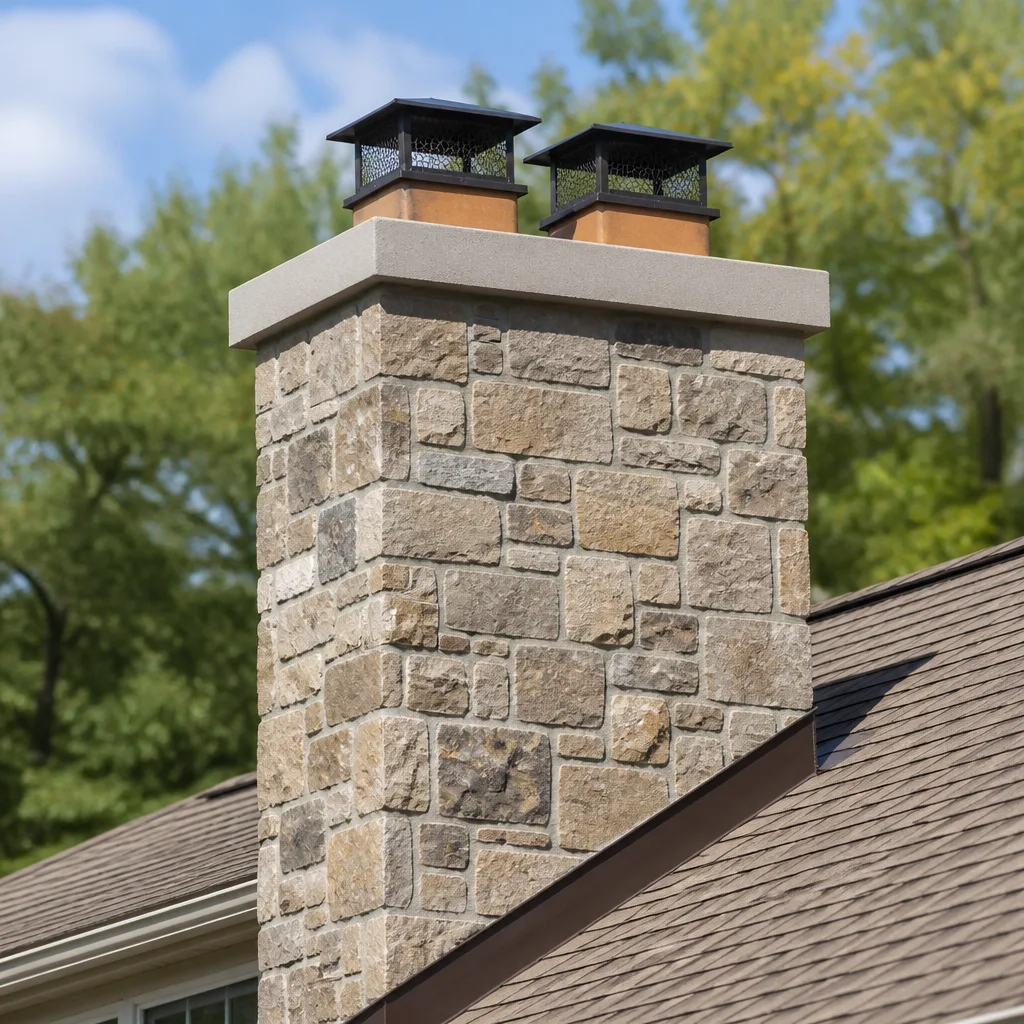
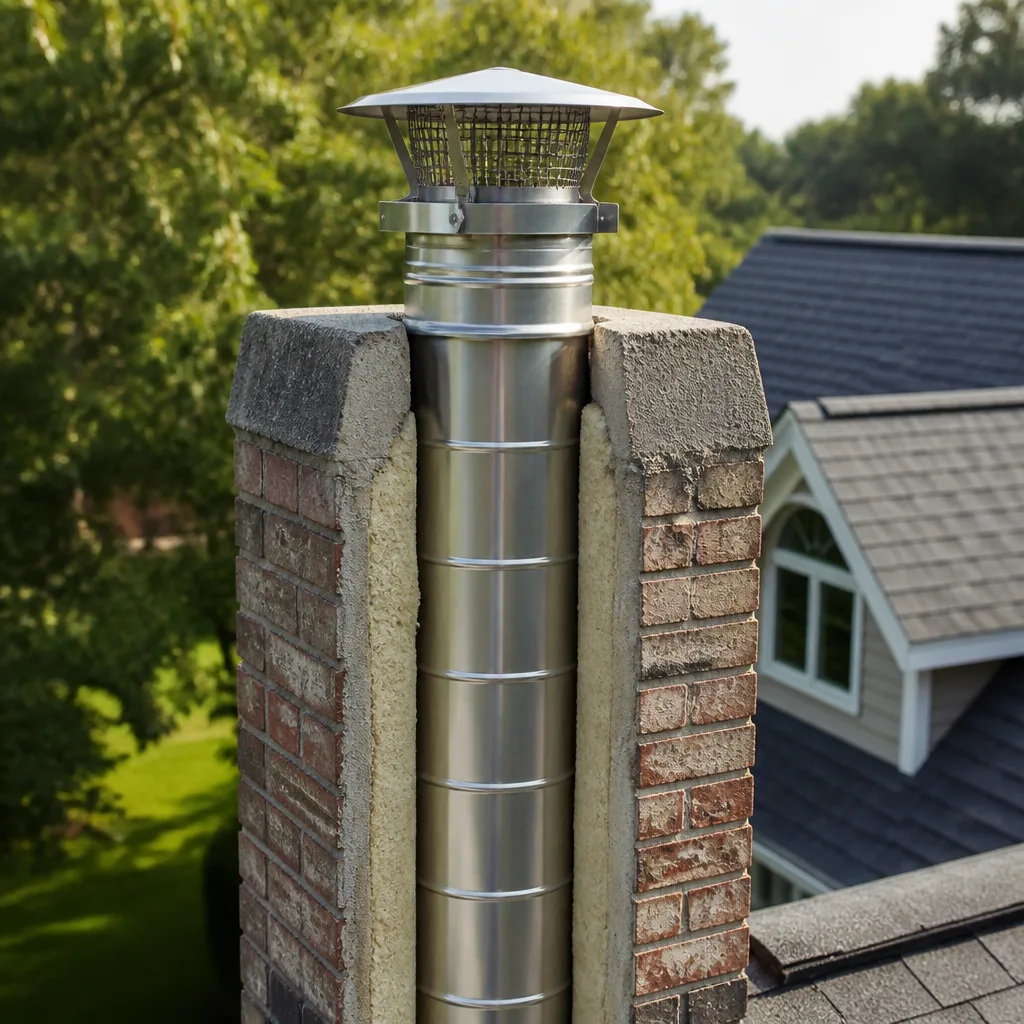
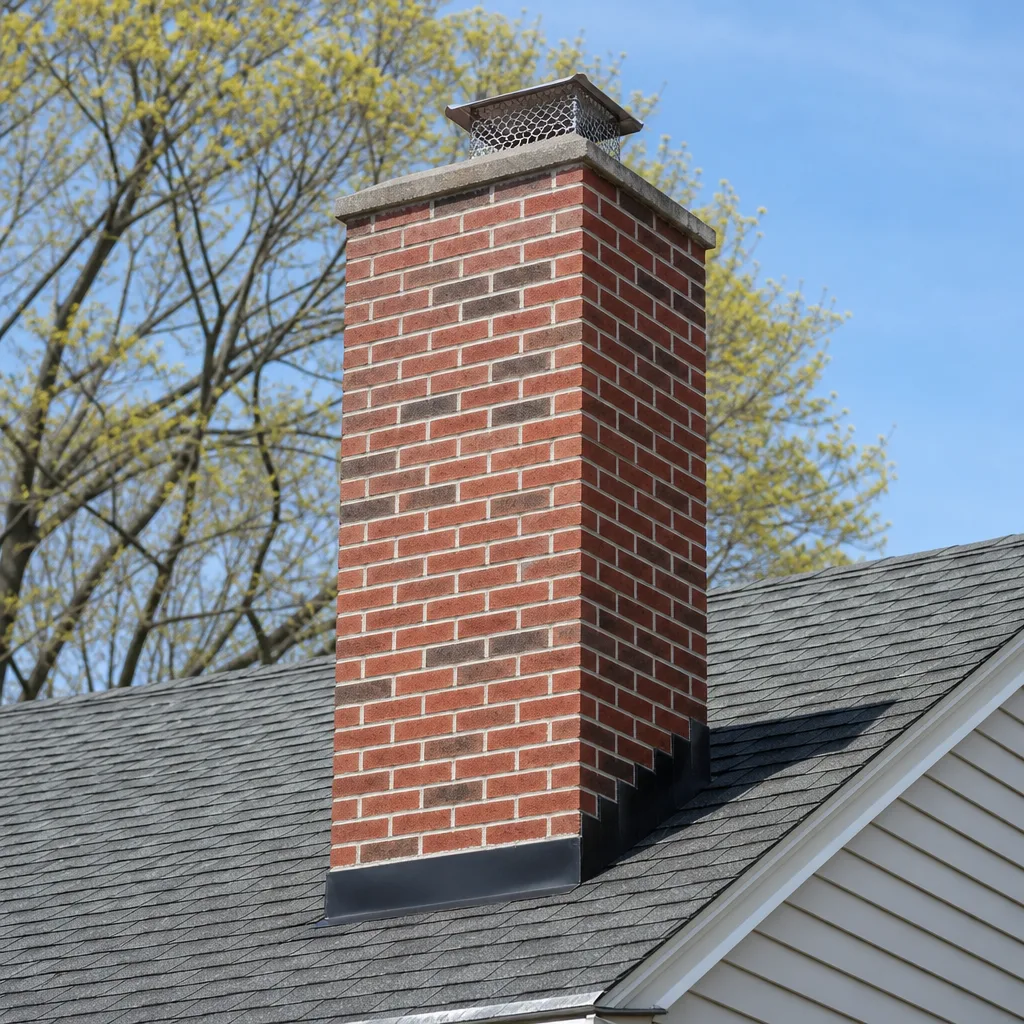
 Before
 After
After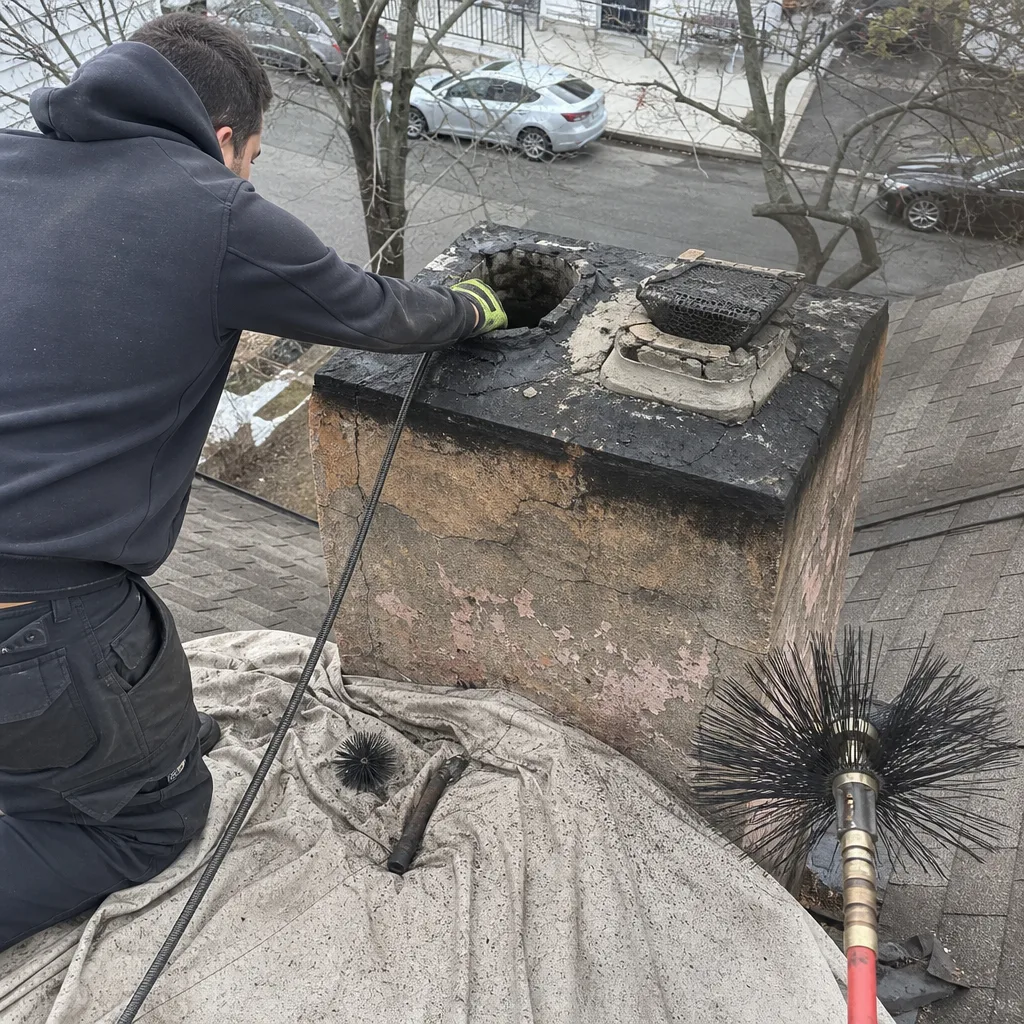 Before
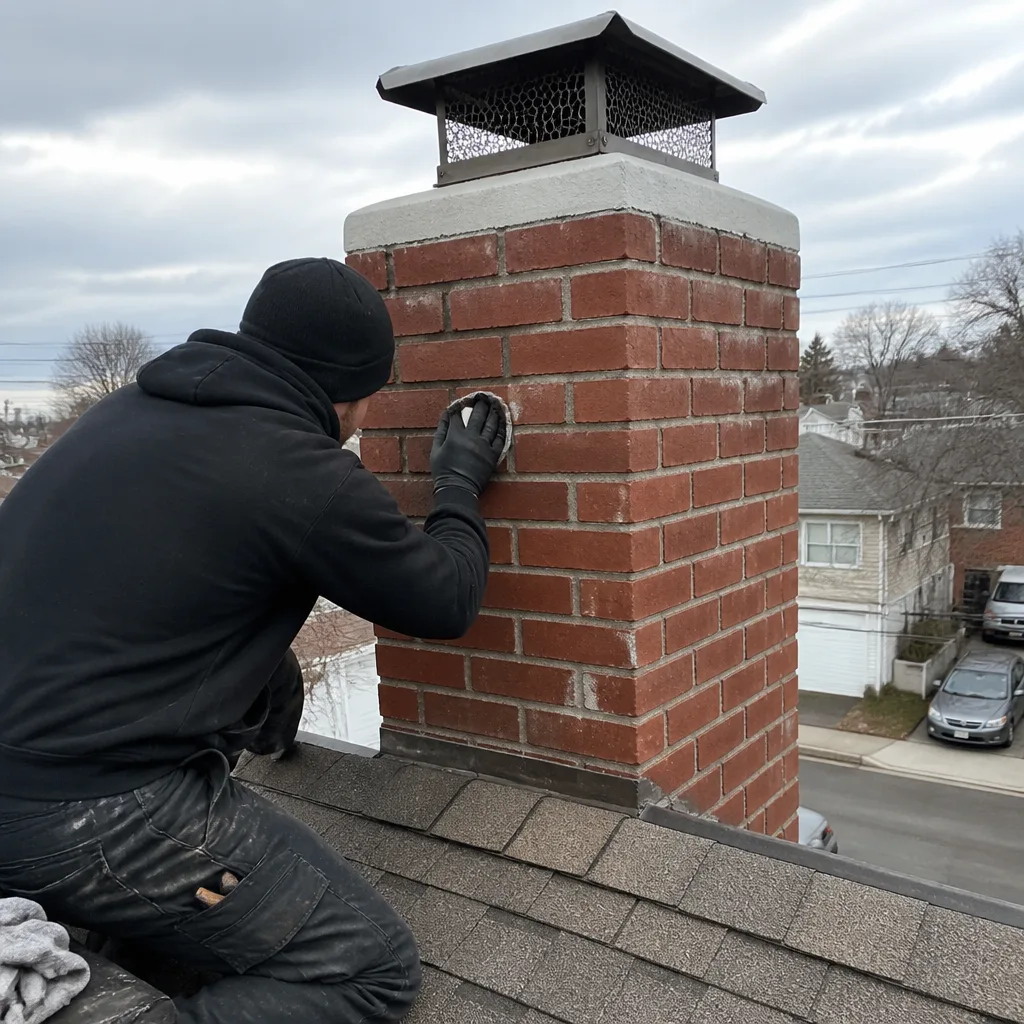 After
After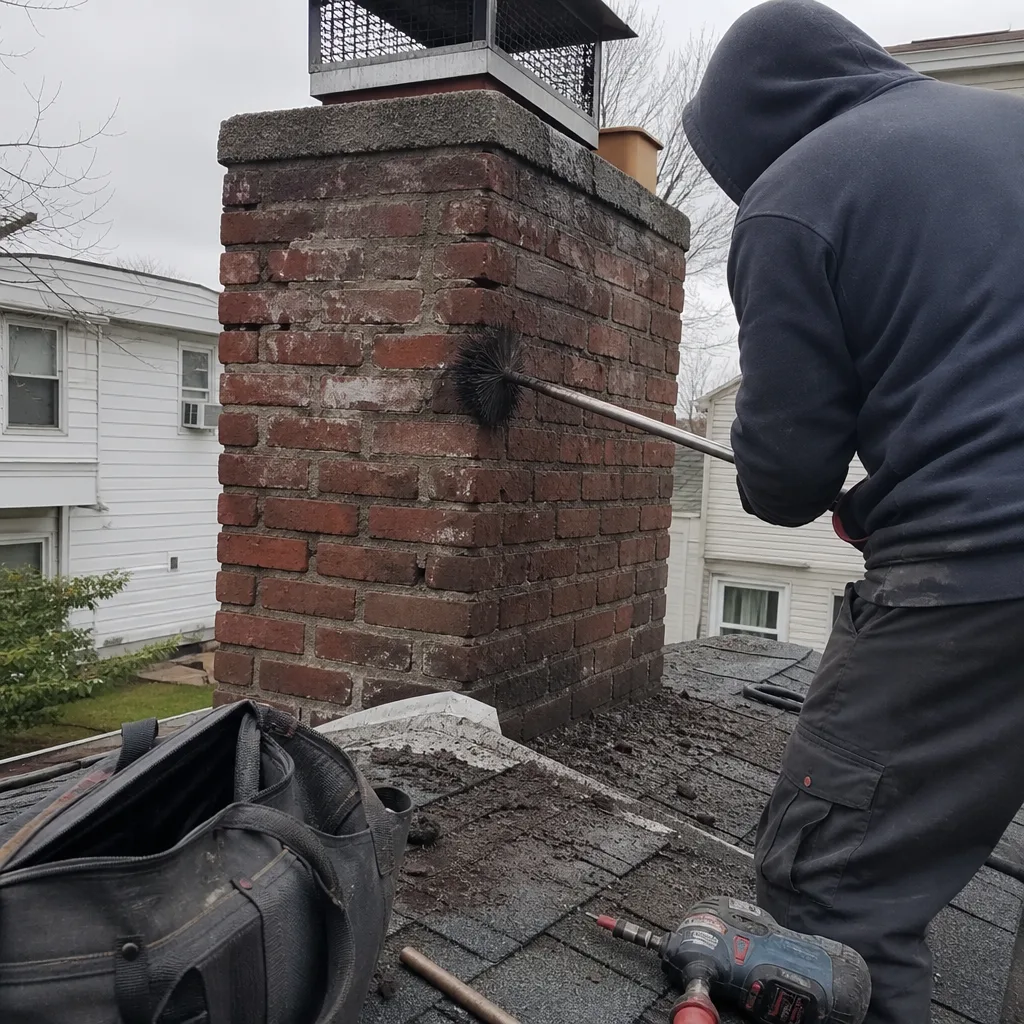 Before
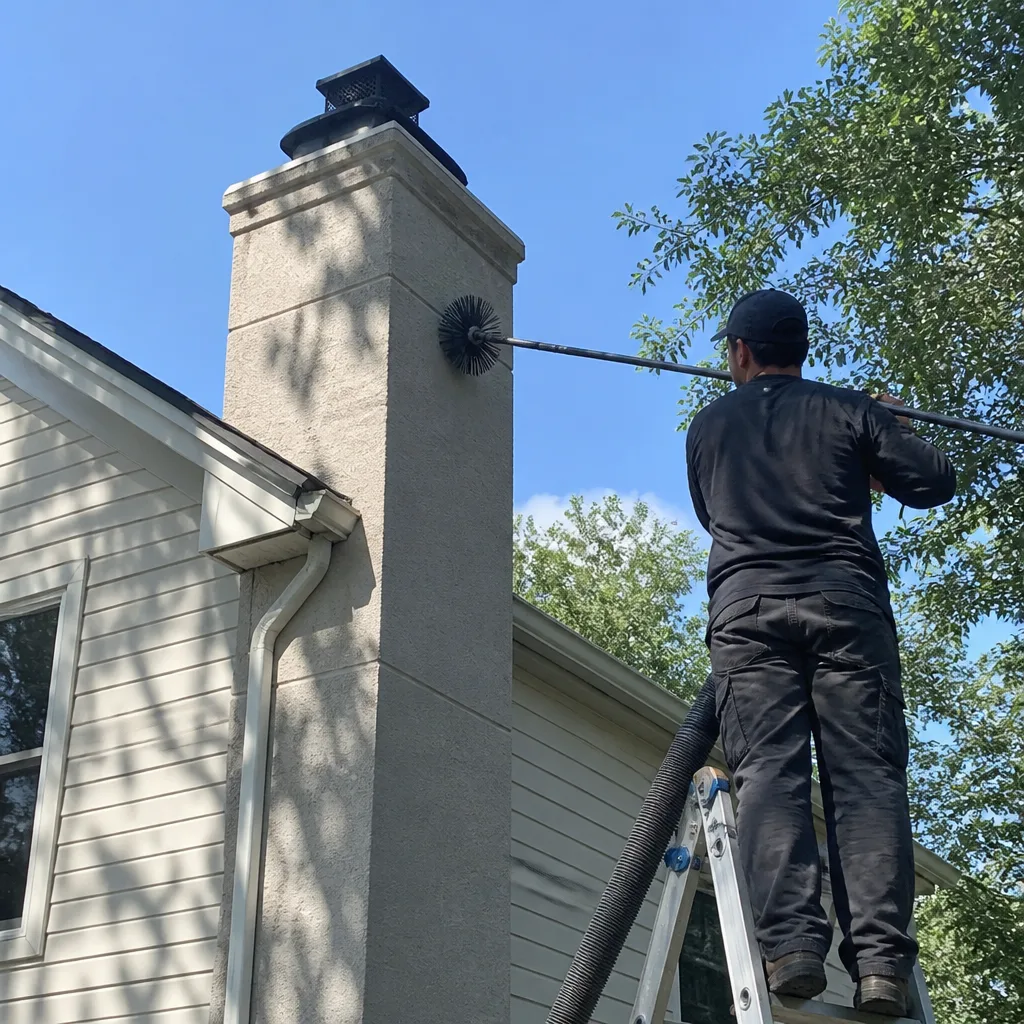 After
AfterGelco Flue Liner Replacement: The Staten Island Owner’s Guide
A Gelco flue liner replacement in Staten Island typically runs $2,800-$5,400 installed, depending on the height of your chimney and whether the existing liner pulls out cleanly or has corroded in place. We stock Gelco-compatible stainless steel liners in common diameters from 5 to 8 inches, and most replacements on Staten Island homes are completed in a single day. If you’re seeing rust flakes in your firebox or smelling smoke in upstairs rooms, the liner has likely failed and needs addressing before the next burning season.
We’ve replaced Gelco liners in homes from Great Kills to Westerleigh, and the story is usually the same: the homeowner noticed something off during a fire, called us out, and the camera inspection showed gaps, corrosion, or separation at the collar. In the humid salt-air climate along Staten Island’s south shore, we’ve seen 316Ti stainless liners last 20 years, but the thinner 304-grade units sometimes show pinholing in 12 to 15 years. Russell Haines and our crew have been doing these swaps for well over a decade, including some stubborn pulls in the Tottenville area where the original liner had basically welded itself to the clay flue tiles.
Which Gelco Models This Applies To
Gelco manufactured several liner series over the years, and identifying yours matters for getting the right replacement diameter and connection hardware. Look for a stamped metal tag near the top of the liner or a label on the original paperwork; common series include the Gelco UL-listed smooth-wall liners and the earlier corrugated flex liners sold through the 1990s and early 2000s. The critical measurement is the inner diameter, not the outer, since the new liner must slide inside your existing clay flue without binding.
Most Staten Island homes built between 1950 and 1990 have 6-inch or 7-inch round flues, though we occasionally find 8-inch in larger Colonials or converted oil-to-gas jobs in the Manor Heights area. Gelco’s connection collars varied by series: some used a simple hose-clamp top plate, while later models had a locking twist-ring that can seize after years of heat cycling. We carry both OEM Gelco top plates and universal-fit adapters from Olympia Chimney and Copperfield, and we’ll match what’s actually on your chimney rather than forcing a generic solution. Hearthstone Chimney Co. is an independent service provider, not affiliated with Gelco, so our only loyalty is to what fits and lasts.
Signs Your Gelco Flue Liner Replacement Is Failing
- Rust or creosote flakes falling into the firebox. This means the liner’s inner wall has corroded through or separated at a joint, allowing condensation and combustion byproducts to leak into the cavity between liner and clay tile. In Staten Island’s freeze-thaw cycles, that trapped moisture accelerates damage to both the liner and the surrounding masonry.
- Smoke odor in upstairs bedrooms or attic space. A breached liner pressurizes the chimney cavity instead of containing exhaust gases; the smoke finds gaps in plaster, around chimney chases, or through attic floor penetrations. We’ve traced this exact pattern in several Port Richmond homes where the liner collar had rusted off entirely.
- White efflorescence staining on exterior brick. When exhaust gases cool and condense inside a leaking liner, the moisture carries salts through the masonry, leaving that chalky white bloom. It’s often the first visible sign of trouble, appearing long before the homeowner notices anything wrong with the fire itself.
- Deteriorating mortar joints in the firebox or smoke chamber. Acidic condensation from a failed liner eats at parging and mortar from the inside out. In older Staten Island homes with original firebrick, this can progress to the point where the firebox itself needs rebuilding, not just the liner.
- Difficulty starting or maintaining a draft, especially on mild days. A liner with holes or separations dilutes the rising column of hot air with cooler air from the cavity, killing draft when outdoor temperatures don’t provide much stack effect. If your fire smolders unless it’s 20 degrees outside, the liner is suspect.
Replacement Cost & What’s Included
| Component | Typical Range (Staten Island) |
|---|---|
| 5″-6″ stainless liner, standard two-story height | $2,800-$3,600 |
| 7″-8″ stainless liner, standard two-story height | $3,400-$4,200 |
| Three-story or complex chimney chase | $4,200-$5,400 |
| Stuck/damaged liner removal (additional labor) | $400-$800 |
| Insulation wrap (required for some clearances) | $300-$500 |
What drives the range: liner diameter and length, whether the old liner extracts in one piece or fragments, and whether your chimney needs a new top plate, rain cap, or insulation to meet current clearances. We price this upfront, not after we’re halfway up the ladder. The estimate includes the liner, all connection hardware, disposal of the old material, and a post-installation camera inspection with photos you can see. Every liner replacement carries our 90-Day Done Right Promise in writing - if it’s not right, we make it right, no paperwork and no arguing. We also apply our standing 5% senior and veteran discount to the total.
DIY or Call Us?
There’s a honest limit to what a homeowner can safely assess here. You can check the firebox for debris, shine a flashlight up the flue to spot obvious gaps or daylight where there shouldn’t be any, and verify that your damper opens fully. What you cannot safely do is climb the roof to inspect the top plate, pull a stuck liner without proper extraction tools, or evaluate whether the chimney’s clay flue tiles are intact enough to receive a new liner.
A failed liner replacement done wrong - wrong diameter, missing insulation, improper top seal - creates a genuine hazard. Carbon monoxide can leak into living spaces, or a chimney fire can breach the cavity and ignite framing. We’ve been called to fix DIY liner jobs where the homeowner used a 5-inch liner in a 7-inch flue with no insulation, creating a dangerous overheating condition in the chase. If the chimney’s sound, we’ll say so. If it isn’t, you’ll hear that too. For a camera inspection and straight answer, call (516) 613-3035.
FAQs
A properly installed 316Ti stainless steel liner typically lasts 20 to 25 years in Staten Island’s climate, though homes within a few blocks of the salt water may see slightly shorter lifespans due to accelerated exterior corrosion on caps and top plates. The 304-grade liners found in some older Gelco installations often show wear in 12 to 15 years. Call (516) 613-3035 for an exact quote - estimates are free.
Small, accessible gaps at the top collar can sometimes be addressed with a proper top plate and seal, but once the liner itself shows multiple holes, wall thinning, or joint separation along its length, replacement is the only sound option. We do not patch liners and call them good; the camera inspection will show you exactly what we’re seeing and whether repair or replacement is appropriate. Call (516) 613-3035 for an exact quote - estimates are free.
Most Gelco liner replacements on standard two-story Staten Island homes are completed in four to six hours, with the crew arriving in the morning and the fireplace ready for use by evening. Complex extractions, three-story heights, or jobs requiring smoke chamber parging may extend to a second day. We complete most jobs in a single visit. Call (516) 613-3035 for an exact quote - estimates are free.
We stock 316Ti stainless liners in 5-inch, 6-inch, 7-inch, and 8-inch diameters, along with Gelco-compatible top plates, rain caps, and connection hardware from Olympia Chimney and Copperfield. Less common sizes or insulation-wrapped liners for zero-clearance chases we can typically source within 24 to 48 hours. Call (516) 613-3035 for an exact quote - estimates are free.
Written by Russell Haines, Owner, Hearthstone Chimney Co. at Hearthstone Chimney Co., serving Staten Island and nearby areas.