
Last updated September 10, 2026
Level 1 sweep and inspection to the NFPA 211 annual standard - flue, crown, cap, and flashing checked and photographed
Chimney sweep logs do not sweep chimneys. They loosen some creosote - which then falls where a brush and vacuum still have to collect it.
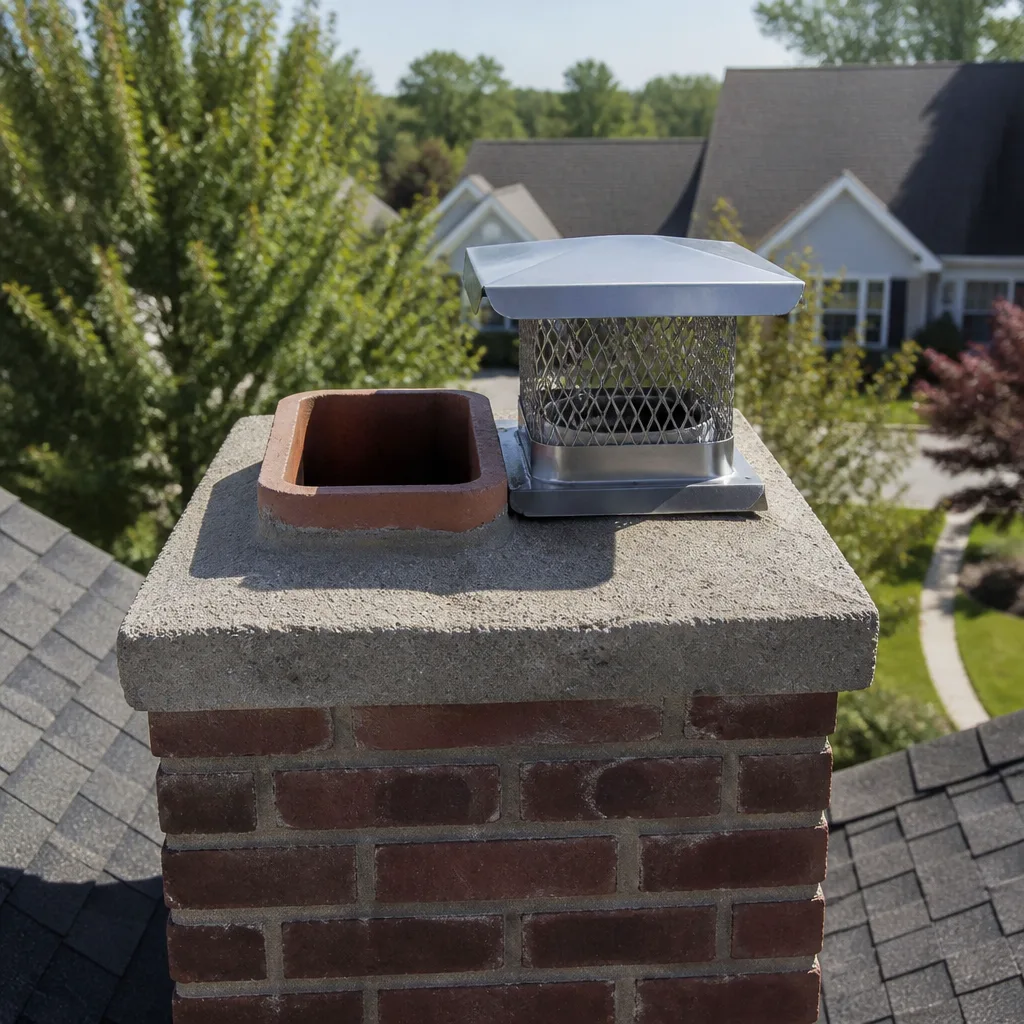
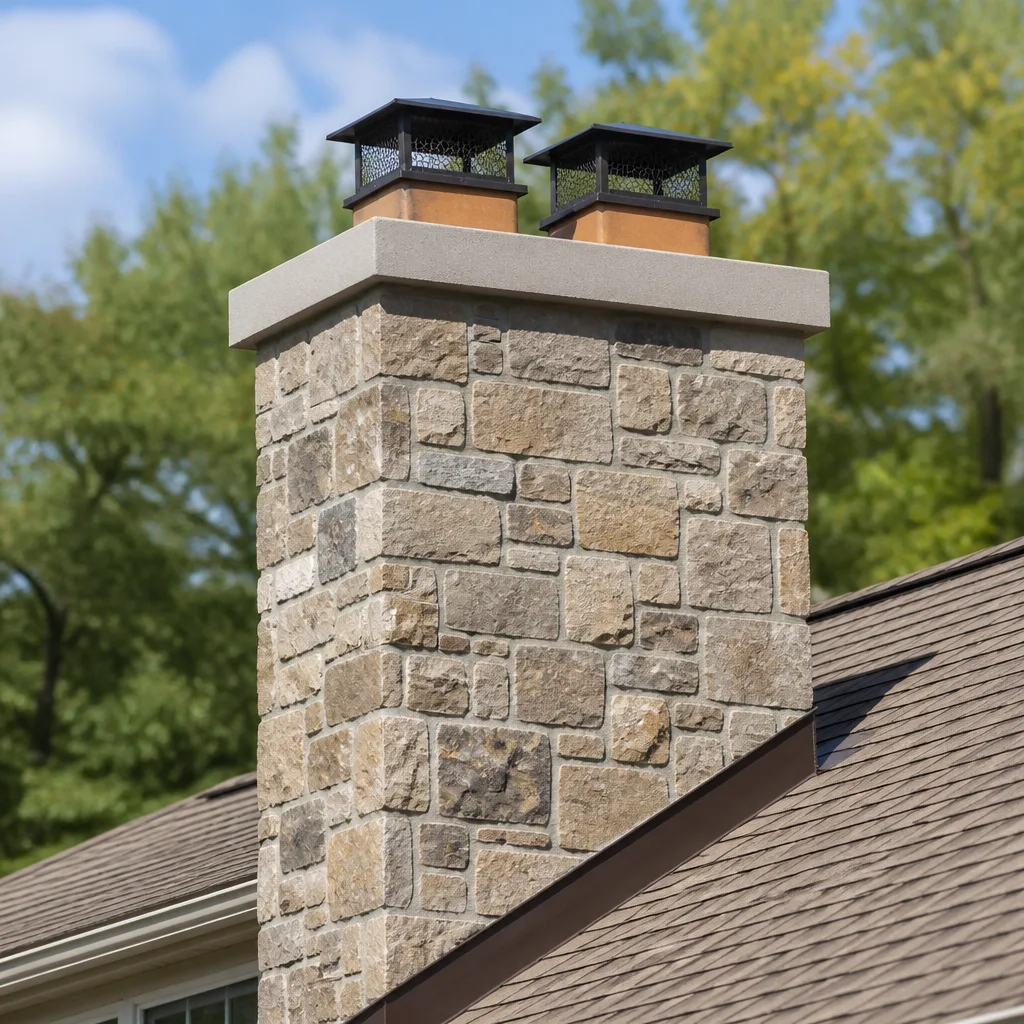
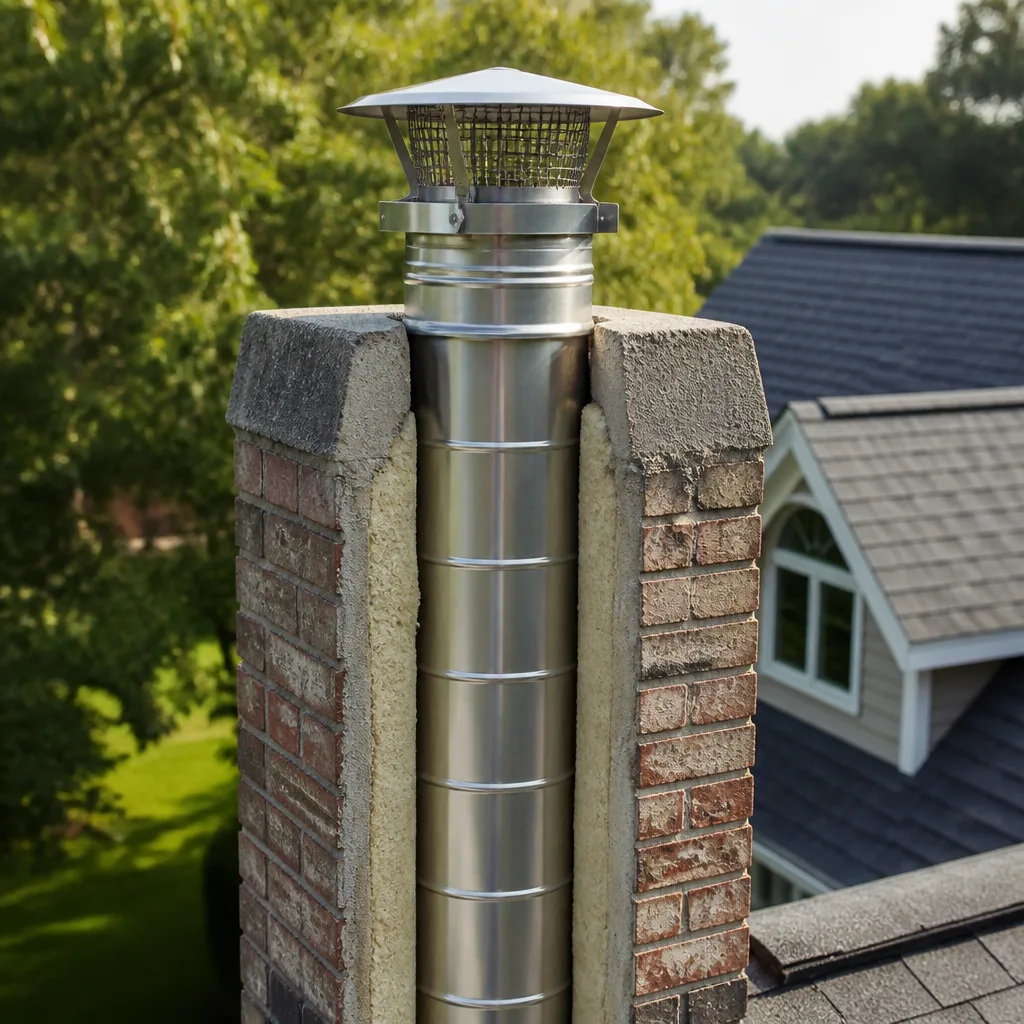
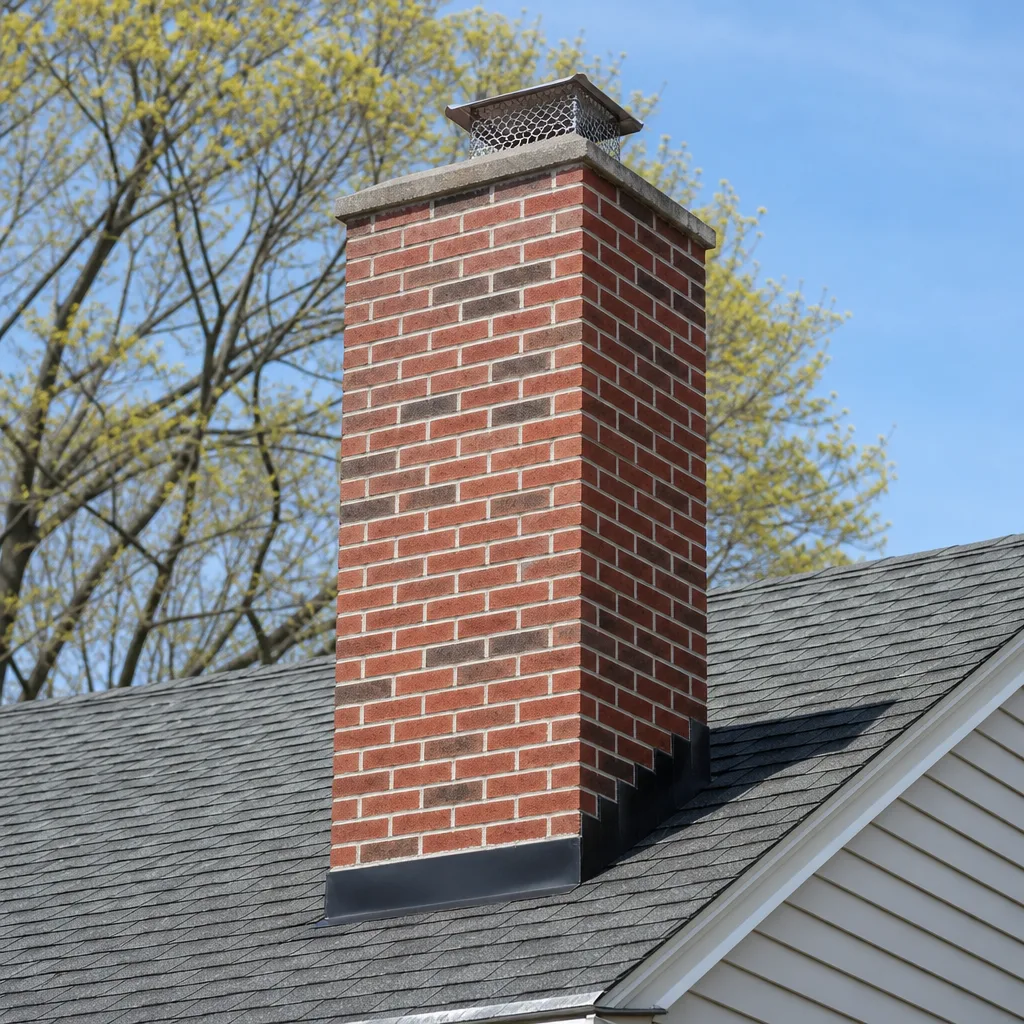
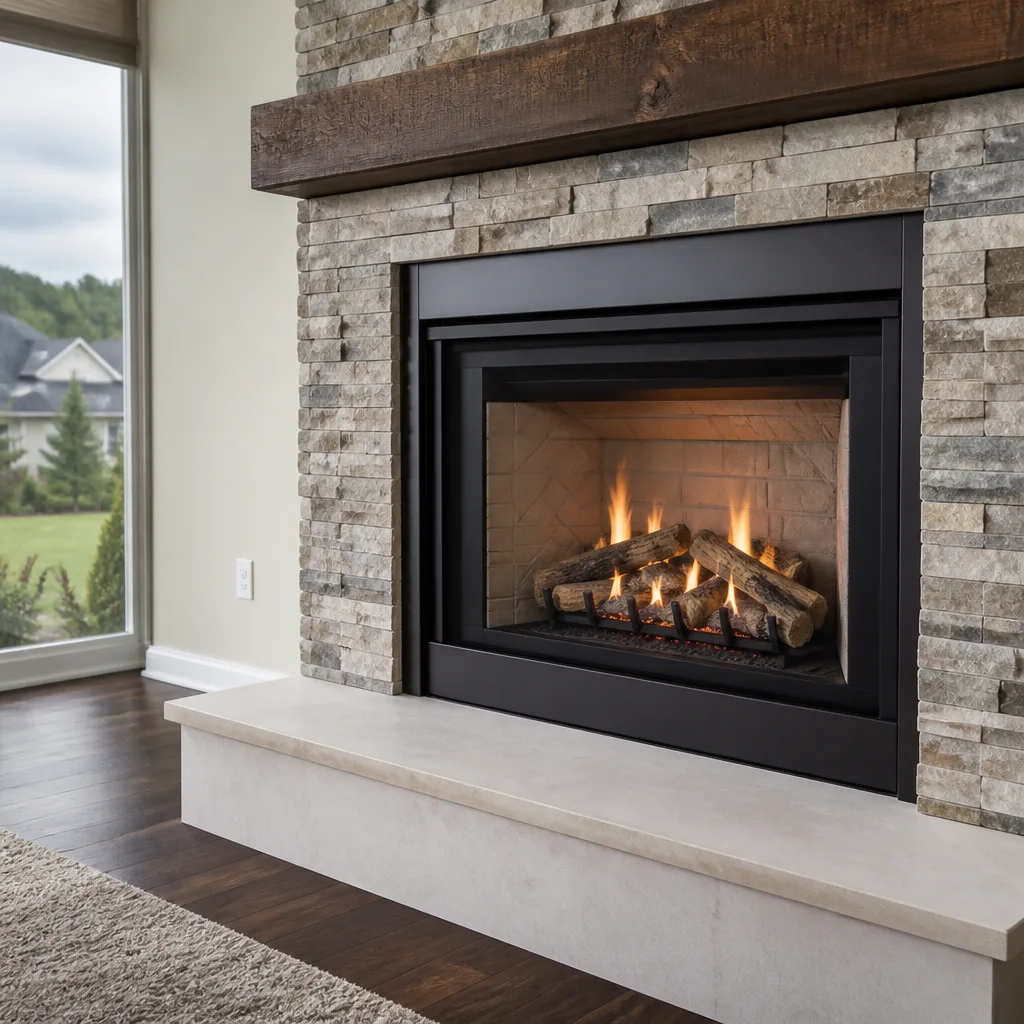
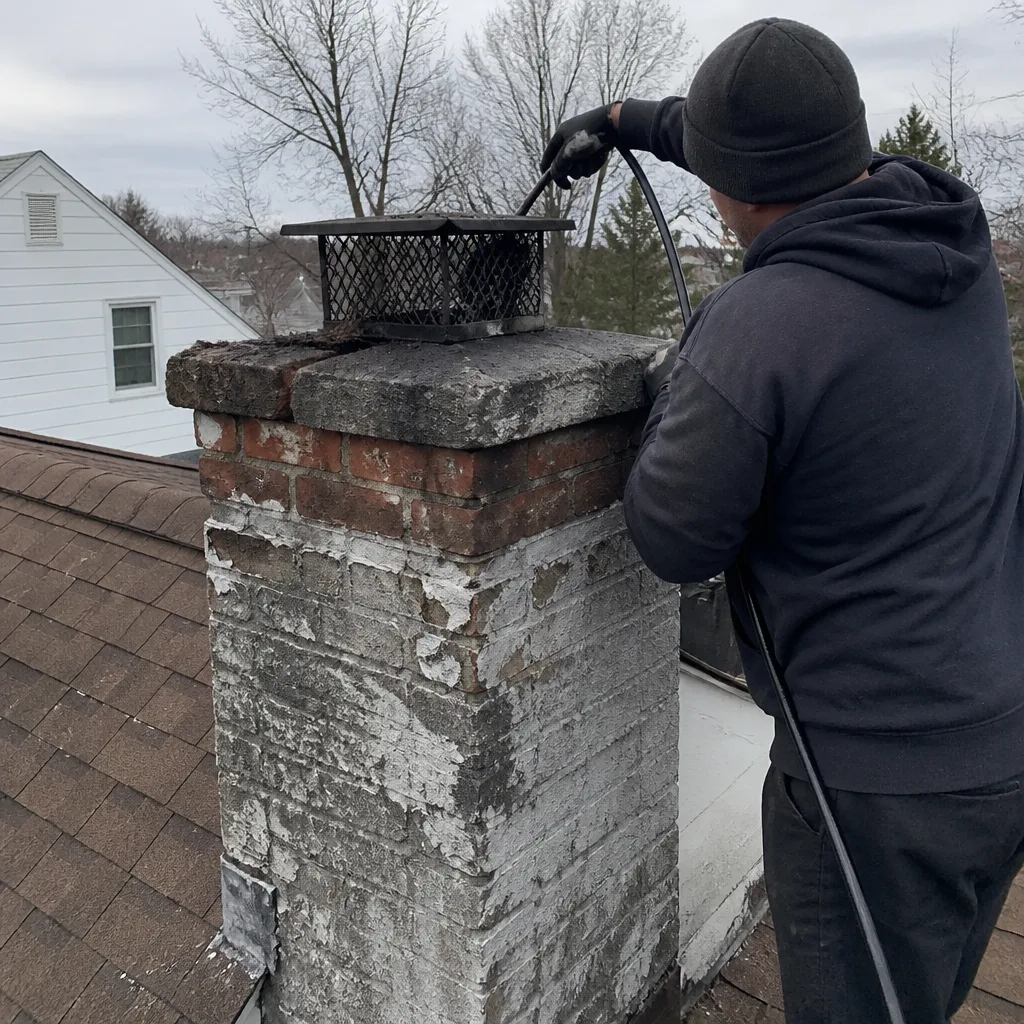 Before
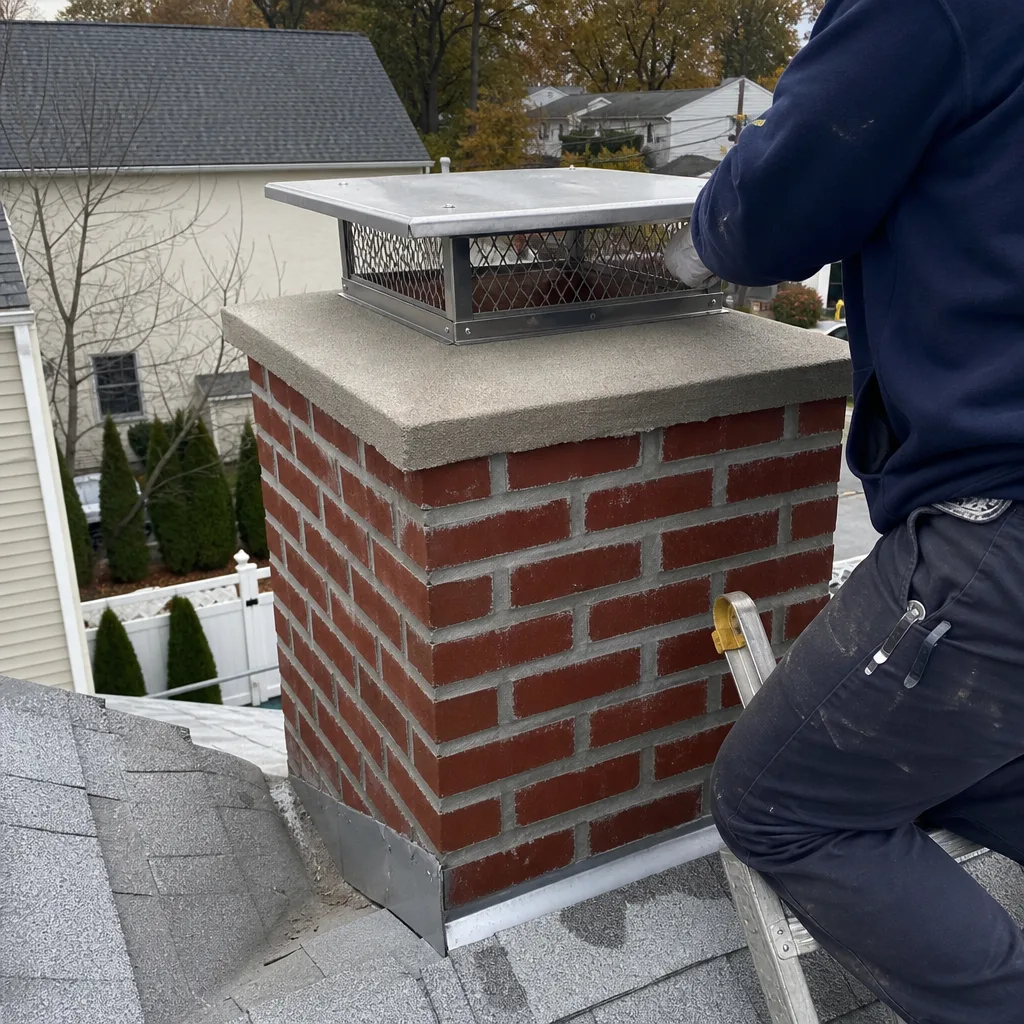 After
After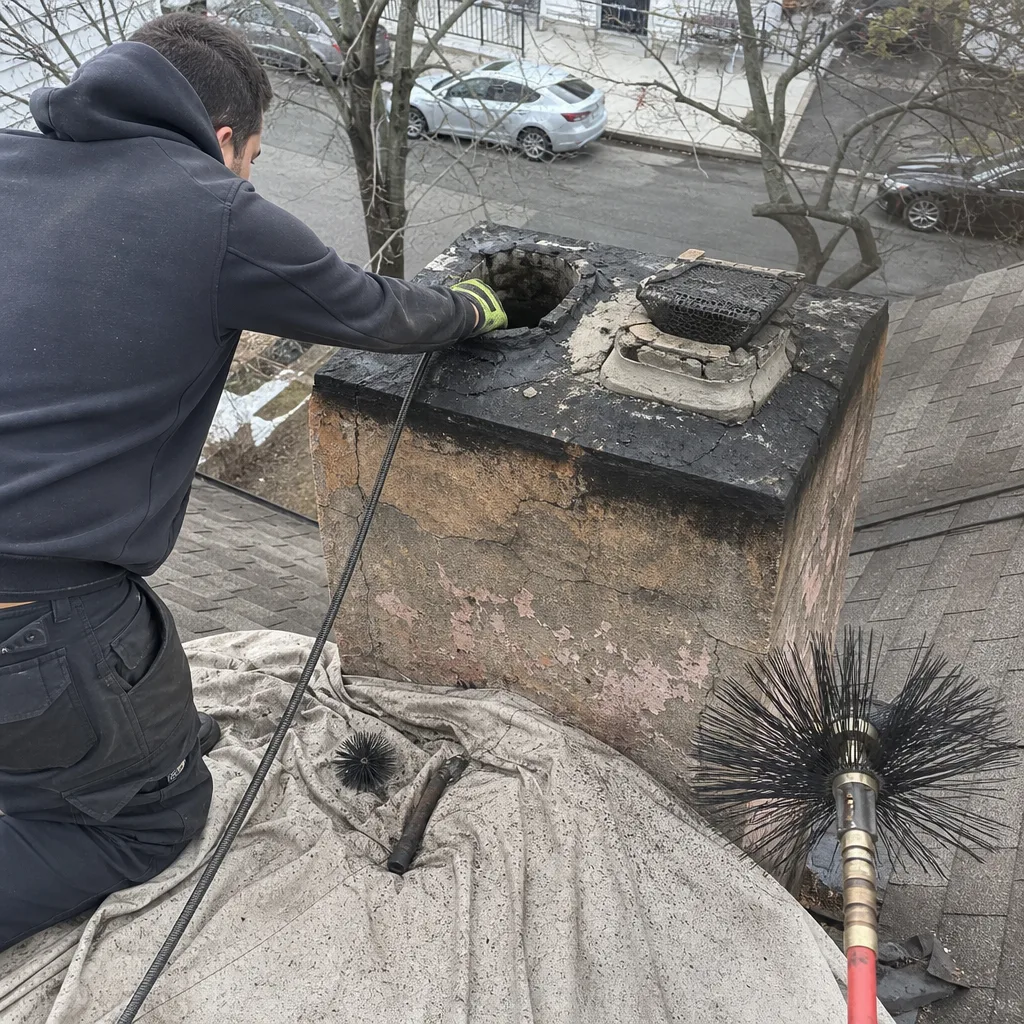 Before
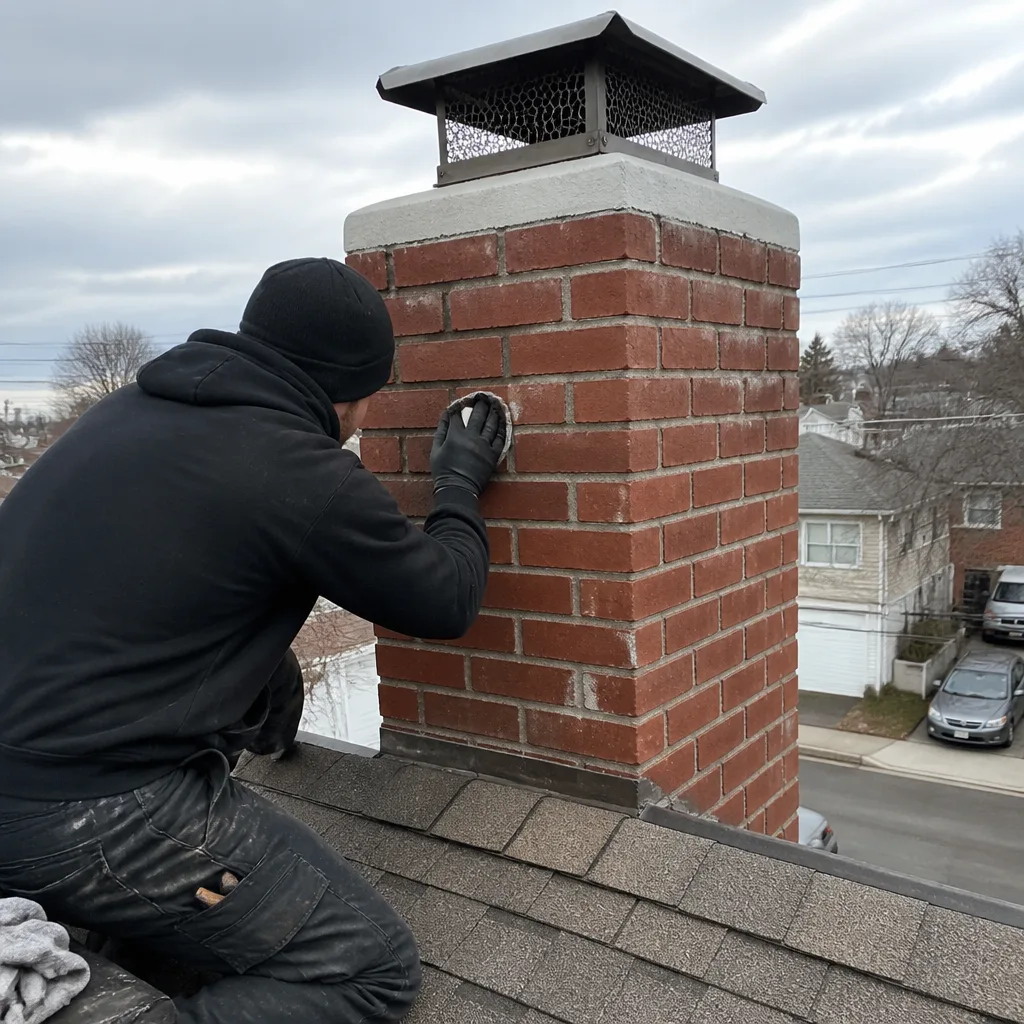 After
After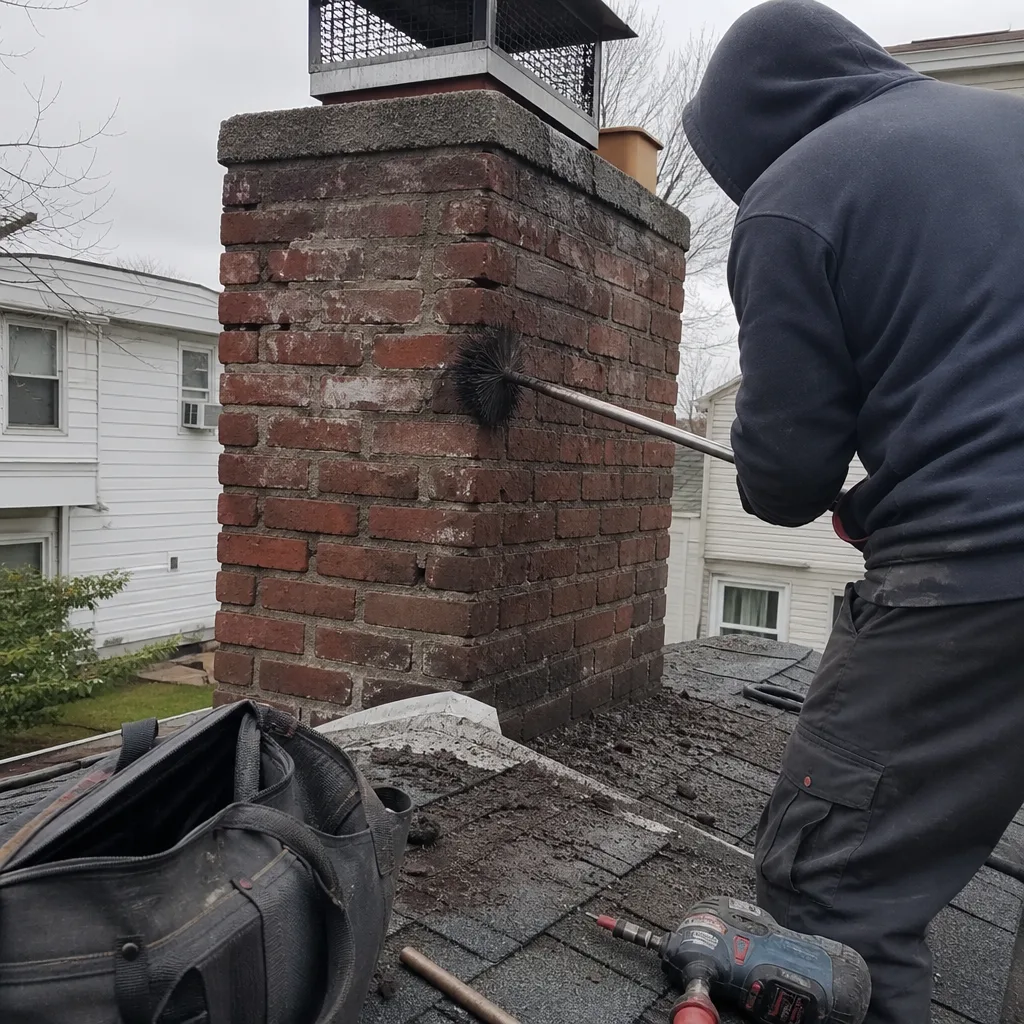 Before
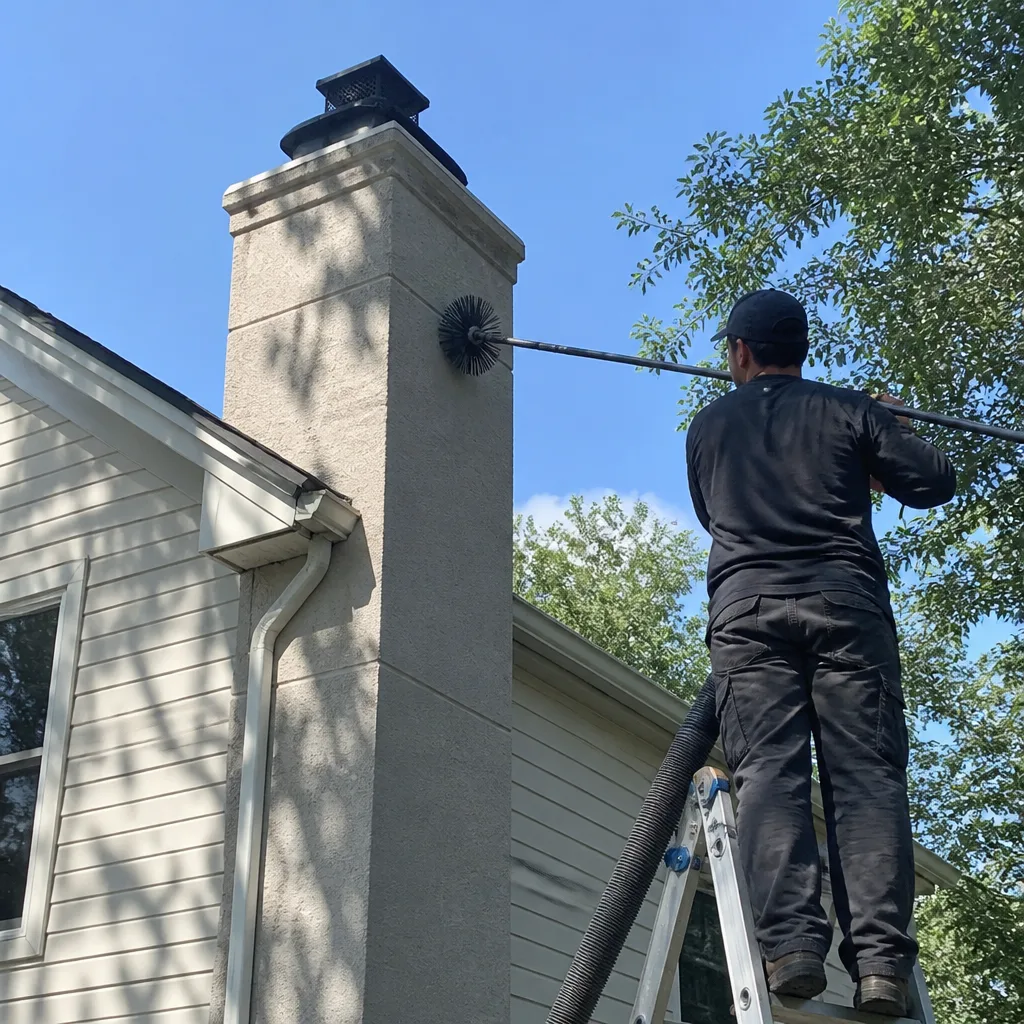 After
AfterChimney Cleaning & Sweep Maintenance Checklist for Staten Island Homeowners
The standard annual chimney checklist circulating online was written for a hypothetical house in a generic climate. It doesn’t account for the prefab zero-clearance fireplaces installed in bulk during Staten Island’s 1970s and 80s building boom, which require a completely different inspection sequence than the masonry flues common in Tottenville’s Victorians or Westerleigh’s 1920s colonials. After 42 years of sweeping chimneys from St. George to Tottenville, we’ve learned that a maintenance checklist only protects your home if it’s built around the actual housing stock on this island. This guide gives you that checklist, separated by chimney type, tied to Staten Island’s real weather patterns, and honest about what you can check yourself versus what requires a trained eye.
Quick Answer
A proper chimney maintenance checklist for Staten Island homes must be split three ways: masonry chimneys, metal-lined flues, and factory-built fireplaces each need distinct inspection points. Most Staten Island homeowners should schedule Chimney Cleaning & Sweep services with a professional Level-2 inspection and camera documentation every 12 months, perform exterior visual checks each March and October, and keep a simple log of what they observe between visits. The island’s freeze-thaw cycles, salt-laden waterfront air, and dense bird populations create conditions that generic checklists miss entirely.
Table of Contents
- Why Staten Island Chimneys Fail Differently
- The Three Checklist Tracks: Masonry, Metal, and Factory-Built
- Month-by-Month Timing for Staten Island’s Climate
- Exterior Checklist: Crowns, Flashing, and Caps
- What to Record Between Professional Visits
- DIY-Safe vs. Professional-Only Checklist Items
- Common Mistakes to Avoid
- When to Call a Professional
- Frequently Asked Questions
- The Bottom Line
Why Staten Island Chimneys Fail Differently
Staten Island sits at a geographic crossroads that punishes chimneys in specific ways. The Arthur Kill and Raritan Bay create a salt-laden marine layer that accelerates metal corrosion, particularly in factory-built chimney systems whose galvanized components were never designed for four decades of coastal exposure. Meanwhile, the island’s clay-heavy soil shifts with freeze-thaw cycles, stressing masonry foundations and the chimneys built on them. We’ve seen this in Port Richmond’s 1890s brick rowhouses, where lateral movement cracks the chimney breast; in New Dorp’s 1960s ranches, where the freeze-thaw cycle destroys crowns in five years instead of fifteen; and in Great Kills’ 1980s split-levels, where prefab fireplace chase covers rust through from the underside where homeowners never look.
The housing stock compounds these forces. Staten Island’s development happened in distinct waves:
- Pre-1940: Solid masonry, often unlined or lined with terracotta flue tiles. Common in St. George, Tompkinsville, and parts of West Brighton.
- 1945-1970: Masonry with clay flue liners, but often built quickly during post-war expansion with softer mortar. Typical in Willowbrook, Eltingville, and Annadale.
- 1970-1995: Factory-built zero-clearance fireplaces installed in volume during the island’s suburban expansion. Concentrated in Huguenot, Woodrow, and Tottenville.
- 1995-present: Mix of direct-vent gas inserts and properly lined masonry, though we’ve found plenty of 2000s builds with critical oversights.
Each era’s chimneys fail predictably, but the failures are different. A generic checklist that tells you to “check the flue” without specifying whether it’s terracotta tile, stainless steel DuraFlex, or a factory-built metal chimney is worse than useless. It creates false confidence.
We’ve also learned that Staten Island’s wildlife patterns matter. The island’s waterfront neighborhoods, from Arlington to Great Kills Harbor, host dense starling and sparrow populations that nest in uncapped flues. A checklist that doesn’t mention cap screening as a seasonal priority is written by someone who hasn’t pulled a nest from a chimney in March.
The Three Checklist Tracks: Masonry, Metal, and Factory-Built
Masonry Chimneys: Clay Flue Tile or Unlined
This is the original Staten Island chimney, still common in older neighborhoods. These systems fail from the inside out: flue gases condense on cool surfaces, acids eat mortar joints, freeze-thaw cycles expand cracks, and eventually the chimney liner or structure itself is compromised.
Annual professional inspection points:
- Level-2 internal camera inspection of all flue tiles, checking for spalling, cracking, or shifted tiles
- Smoke chamber and firebox parging condition
- Exterior brick and mortar for efflorescence (white powder indicating moisture migration)
- Crown integrity and proper overhang beyond the chimney face
- Flashing at roofline, especially where the chimney penetrates a low-slope section
Homeowner visual checks (March and October):
- Crown: look for cracks wider than a dime, or any depression that holds water
- Cap: present and secure, with mesh sides intact
- Brick faces: spalling (flaking surface), missing mortar to finger depth, or new cracks
- Attic: any water staining on chimney breast or surrounding framing
- Firebox: cracked or missing firebrick, deteriorated mortar
In our experience, Staten Island’s masonry chimneys with original terracotta liners typically need relining between years 40 and 70, depending on use and maintenance. The Chimney Repair in Staten Island page covers relining options in detail, including HeatShield cerfractory resurfacing for sound liners with minor gaps.
Metal-Lined Masonry: Stainless Steel or Aluminum
When a masonry chimney is relined, the liner material determines the inspection protocol. Stainless steel DuraFlex liners, which we install exclusively for their corrosion resistance in coastal air, develop different wear patterns than aluminum or older galvanized systems.
Annual professional inspection points:
- Camera inspection of full liner length, checking for creosote buildup patterns (indicates drafting issues), corrosion at joints, and liner displacement from original position
- Top plate or termination seal condition
- Insulation blanket integrity if present
- Connection to appliance: secure, proper rise, no visible gaps
Homeowner visual checks:
- Termination cap: secure, no rust streaks on exterior chimney face
- Cleanout door (if accessible): closes tightly, no debris or odor
- Appliance connection point: no visible gaps at thimble or direct connection
Aluminum liners in Staten Island’s salt air often fail prematurely at the termination. If your home has an aluminum liner installed before 2010, we recommend annual inspection without exception.
Factory-Built (Zero-Clearance) Fireplaces
These systems dominate Staten Island’s 1970s-1990s housing stock. They’re engineered as complete systems, meaning any modification or repair must use listed components from the original manufacturer or an approved equivalent. This is where generic checklists cause the most harm.
Annual professional inspection points:
- Full internal camera inspection of the metal chimney, checking for corrosion, separation at joint locks, and proper clearances to combustibles
- Firebox refractory panel condition: cracks wider than 1/8 inch require replacement
- Glass door gasket and latch function
- Blower assembly clean and functional (if equipped)
- Chase cover or termination cap: rust, proper seal, adequate screening
- Clearance to mantel and surround: factory-built systems tolerate no deviation
Homeowner visual checks:
- Firebox panels: hairline cracks are normal, anything you can fit a nickel into is not
- Glass: clean, gasket intact, closes firmly
- Exterior chase: siding or stubble in good repair, no water staining
- Termination: cap present, no visible rust, no bird activity
The critical difference: factory-built systems cannot be “patched” with generic materials. A cracked refractory panel in a Heatilator or Superior fireplace requires a listed replacement panel, not refractory cement. We’ve seen well-meaning homeowners create serious hazards by applying the wrong repair. Fireplace Services in Staten Island covers factory-built repair protocols.
Month-by-Month Timing for Staten Island’s Climate
Generic advice says “sweep before burning season.” For more on local timing, see our Complete Guide to Chimney Cleaning in Staten Island; in practice, that’s still insufficient. Our climate has distinct phases that affect chimney condition and maintenance timing.
March-April: Post-Season Assessment
After the last fire, inspect while the memory is fresh. Check the firebox for new cracks, note any drafting problems from the winter, and schedule repairs before the spring rush ends. This is also when wildlife becomes active. Cap screening should be verified before starlings begin nesting in April.
May-June: Exterior Repairs and Waterproofing
Dry days allow crown repair, tuckpointing, and waterproofing applications to cure properly. We apply vapor-permeable waterproofing to masonry in Great Kills and Tottenville homes where salt air accelerates mortar deterioration. Factory-built chase covers with surface rust can be addressed before the rust penetrates.
July-August: Deep Inspection and Liner Work
Slow season for chimney companies means scheduling flexibility and time for major work. If your Level-2 inspection revealed liner degradation, summer is when we install DuraFlex stainless liners or apply HeatShield resurfacing. The work is hot, but the scheduling is easier.
September-October: Pre-Season Sweep and Function Check
Staten Island’s first sustained cold typically arrives in mid-October. By then, appointment books are full. Schedule your sweep by September 15. The technician should verify damper function, check for blockages, and confirm that any summer repairs held.
November-February: Burn Season Vigilance
During active use, monitor for:
- Smoke spillage at startup (indicates cold flue or blockage)
- Unusual odors (creosote buildup, animal intrusion, or liner failure)
- Water in the firebox (cap, crown, or flashing failure)
- Drafting changes after high winds (cap displacement or flue damage)
Any of these symptoms warrant an out-of-cycle inspection. We answer calls 24 hours a day, 7 days a week, and we’ll tell you honestly whether it’s urgent or can wait.
Exterior Checklist: Crowns, Flashing, and Caps
Most chimney damage starts at the top and works down. Staten Island’s wind-driven rain and freeze-thaw cycles make these three components especially critical.
The Crown
The crown is the concrete or mortar slab that tops a masonry chimney, sloped to shed water. It is not the cap. A proper crown overhangs the chimney face by at least 2 inches and has a drip edge underneath.
What to look for:
- Cracks wider than 1/8 inch that penetrate through the slab
- Depressions that hold water (these become ice ponds in January)
- Crown separated from the flue tile, creating a gap
- Spalling or crumbling surface, especially on chimneys with Portland cement crowns (too rigid for freeze-thaw)
We’ve replaced crowns on 15-year-old chimneys in New Dorp that should have lasted 30, because the original builder used the wrong mortar mix. A proper crown uses a sand-cement-lime blend with controlled water content, or better, a pre-formed Gelco crown component.
Flashing
Flashing is the metal intersection where chimney meets roof. It’s the most common leak point we find in Staten Island homes, and the most often misdiagnosed.
What to look for:
- Lifted or separated step flashing where it meets the brick
- Rust on galvanized flashing (common in pre-1990 installations)
- Caulk or tar applied as “repair” - this traps moisture and accelerates decay
- Water stains on ceiling drywall directly below chimney penetration
Proper flashing has two layers: step flashing woven into shingles, and counter-flashing let into mortar joints. Any other configuration in Staten Island’s wind-driven rain environment is temporary.
The Cap
A cap is not decorative. In Staten Island, it’s essential pest control. Starlings, sparrows, and the occasional raccoon enter uncapped flues. We’ve removed nests that blocked 80% of the flue area, creating both fire hazard and carbon monoxide risk.
What to look for:
- Mesh sides intact, with 3/4-inch openings (small enough for birds, large enough for smoke)
- Proper clearance above flue tile (typically 4-6 inches) to allow proper draft
- Secure attachment: straps, screws, or slip-fit with set screws
- No rust-through on metal caps, no cracks on concrete caps
Copperfield and Gelco caps with stainless mesh hold up best in our coastal environment. Galvanized caps in waterfront neighborhoods often need replacement at 7-10 years.
What to Record Between Professional Visits
The most valuable thing a homeowner can do is establish a baseline. When we arrive for an inspection, we want to know what’s changed. Without records, we and the homeowner are guessing.
Keep a simple log with dates:
- Photograph the exterior annually. Same angles, same lighting if possible. Compare year to year for crown cracks, brick spalling, or mortar erosion.
- Note burn dates and fuel type. How many fires, what wood (seasoned hardwood vs. softwood or construction scrap), any performance issues.
- Record any smoke or odor events. Time of day, weather conditions, what was burning. This pattern often reveals drafting problems before they become dangerous.
- Track water entry. Date, weather, location in firebox or adjacent structure. Photos help enormously.
- Save all inspection reports. Compare findings year to year. A crack that grows from hairline to 1/8 inch in two years tells a story.
This documentation doesn’t replace professional inspection. It makes professional inspection more productive. When Russell Haines or one of our technicians can see a three-year photo sequence, we catch problems earlier and recommend intervention with confidence rather than speculation.
DIY-Safe vs. Professional-Only Checklist Items
We’re plain about this because we’ve seen the consequences of overreach. Some maintenance is genuinely homeowner-appropriate. Other tasks require training, equipment, or both.
DIY-Safe Checks
- Visual exterior inspection from ground level or stable ladder
- Firebox condition check (no disassembly required)
- Damper operation: open, close, note binding or debris
- Cap and screening visual check from roof edge or with binoculars
- Smoke detector and carbon monoxide detector test (replace batteries annually)
- Log maintenance as described above
Professional-Only: Do Not Attempt
- Any roof-level work on slopes steeper than 4:12. Staten Island’s 1980s colonials often have 8:12 or steeper pitches. Falls from these heights are frequently fatal.
- Internal flue inspection beyond a flashlight glance. Without a camera on a flexible rod, you’re guessing. We’ve found cracked tiles behind what looked like clean flues from below.
- Creosote removal. Stage 2 and 3 creosote requires rotary cleaning equipment and chemical treatment. Improper removal can damage liners and create fire risk.
- Liner installation or repair. This affects combustion safety and insurance coverage. Listed materials, proper sizing, and code-compliant connections are non-negotiable.
- Crown or masonry repair above eye level. Proper mortar mix, curing conditions, and structural assessment require training.
- Factory-built component replacement. Listed parts only, installed per manufacturer instructions. Generic substitutes create liability and hazard.
The test is simple: if the task requires a ladder on the roof, disassembly of a combustion system, or judgment about structural or fire safety, call a professional. We’re not discouraging self-reliance. We’re describing where competence ends and risk begins.
Common Mistakes to Avoid
- Treating all chimneys as masonry. Factory-built systems in Staten Island’s 1970s-1990s housing stock need completely different inspection protocols. Applying masonry maintenance to a zero-clearance fireplace can void the listing and create fire hazards.
- Waiting for “before winter” to schedule. By October 15, quality chimney companies in Staten Island are booked two to three weeks out. The smart money schedules in August or early September.
- Ignoring the chase cover on factory-built chimneys. That flat metal top on your chimney chase is not permanent. We’ve replaced chase covers in Great Kills that rusted through in 12 years, dumping water directly onto the firebox enclosure.
- Using the wrong wood. Unseasoned softwood, construction lumber with fasteners, or painted wood creates glazed creosote that standard brushing won’t remove. Staten Island’s tree service wood is often oak or maple, but if it’s not split and dried 18 months, it’s not seasoned.
- Accepting “the chimney looks fine” without documentation. A verbal all-clear from an unqualified inspector or a neighbor with a flashlight is not a substitute for a Level-2 inspection with photos. We’ve found $4,000 problems in chimneys that “looked fine.”
- Neglecting the exterior until there’s a leak. Crown cracks and flashing gaps are cheap to fix when caught early. Water damage to adjacent framing, insulation, and finishes is not.
- Assuming a gas fireplace needs no maintenance. Direct-vent and vent-free gas inserts still require annual inspection of burner, pilot, logs, and venting. Debris in the vent termination, deteriorated gaskets, and failed safety switches are all real hazards we’ve documented in Staten Island homes.
When to Call a Professional
Call for immediate inspection if you observe smoke entering the room at startup, water in the firebox after rain, a strong tar or chemical odor during burning, or any visible damage to the chimney structure from ground level. These symptoms indicate conditions that can escalate to chimney fire or carbon monoxide exposure.
Schedule proactive inspection if your chimney has not had a Level-2 camera inspection in 12 months, if you’ve purchased a home and have no documentation of prior service, or if you burn more than three cords of wood annually. Staten Island’s older housing stock, coastal climate, and varied construction eras reward vigilance.
Hearthstone Chimney Co. offers free estimates in Staten Island. Our Level-2 inspections include camera documentation, photos you can see, and a plain-English verdict. Call (516) 613-3035. A live person answers 24 hours a day, 7 days a week. Most inspections are completed in a single visit, with no-hassle upfront pricing.
Frequently Asked Questions
A standard chimney sweep and Level-1 inspection in Staten Island typically ranges from $199 to $349, depending on chimney type, accessibility, and creosote condition. A Level-2 inspection with camera documentation runs $289 to $499. Hearthstone’s $89 Seasonal Tune-Up covers basic sweep and safety check for qualifying systems. Call (516) 613-3035 for an exact quote. Estimates are free.
The National Fire Protection Association recommends annual inspection for all chimney systems, with sweeping frequency determined by use. For Staten Island homeowners burning seasoned hardwood as a primary heat source, that means annual sweeping. Occasional weekend users can sometimes extend to every two years, but the inspection must still happen annually. Our coastal climate and freeze-thaw cycles create exterior deterioration regardless of use.
You need a new liner when camera inspection reveals cracked terracotta tiles, gaps between tiles, or corrosion and separation in metal liners. We never recommend liner replacement without photo evidence you can see yourself. Some conditions allow deferral with monitoring. Others, particularly cracked tiles with visible gaps to the chimney structure, require immediate action because they allow combustion gases into living spaces. We’ll show you the images and explain which category you’re in.
Skipped maintenance leads to creosote accumulation, which can ignite into a chimney fire reaching 2,000 degrees and damaging the liner or structure. It also leads to undetected liner damage, which can allow carbon monoxide into the home. Exterior neglect causes water infiltration that rots adjacent framing, destroys insulation, and spalls brick from the inside out. In Staten Island’s housing market, these are expensive problems that proper maintenance prevents at a fraction of the cost.
Homeowners can safely remove light ash and debris from the firebox, test the damper, and inspect accessible cleanout doors. Actual flue cleaning requires proper brushes, rods, and knowledge of what creosote stages look like. More importantly, without a camera inspection, you’re cleaning blind. We’ve found critical damage in chimneys that were “cleaned” annually by homeowners who never looked inside. The $199-$349 for professional service includes documentation that protects your home and insurance coverage.
Staten Island’s coastal exposure accelerates metal corrosion, particularly on factory-built chase covers and galvanized flashing. The island’s clay soils shift with moisture, stressing masonry foundations. Our housing stock includes dense concentrations of 1970s-1980s factory-built fireplaces that fail differently than masonry. And our wildlife patterns, especially starling and sparrow nesting, create blockage hazards that inland areas don’t match at the same scale. A checklist written for Westchester or Nassau County misses these factors.
The Bottom Line
Effective chimney maintenance in Staten Island requires three things: a checklist matched to your actual chimney type, timing tied to our coastal climate, and honest boundaries about what’s safe to handle yourself. For more guides & resources, explore our blog. The housing stock here, from St. George’s century-old masonry to Tottenville’s 1980s factory-built systems, demands specificity that generic advice cannot provide. Keep records, respect what requires professional training, and schedule before the October rush. Done right, a chimney is a century-long asset. Neglected, it becomes a century-long liability. We’re here to help you stay on the right side of that line.
Written by Russell Haines, Owner at Hearthstone Chimney Co., serving Staten Island since 2014.